Rendered at 09:43:45 04/30/25
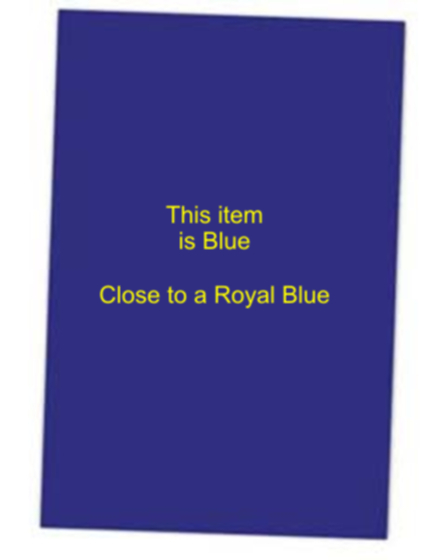

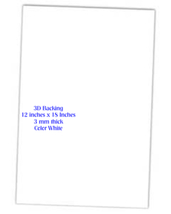


Blue BCK3D 3-D Embroidery Foam Backing Puff 18" x 12 Inches x 3mm
$3.21

Shipping options
Return policy
None: All purchases final
Details
Purchase protection
Payment options
PayPal accepted
PayPal Credit accepted
Venmo accepted
PayPal, MasterCard, Visa, Discover, and American Express accepted
Maestro accepted
Amazon Pay accepted
Nuvei accepted
Shipping options
Return policy
None: All purchases final
Details
Purchase protection
Payment options
PayPal accepted
PayPal Credit accepted
Venmo accepted
PayPal, MasterCard, Visa, Discover, and American Express accepted
Maestro accepted
Amazon Pay accepted
Nuvei accepted
Item traits
| Category: | |
|---|---|
| Quantity Available: |
7 in stock |
| Condition: |
New |
| Handmade: |
No |
| Brand: |
BCK3D |
Listing details
| Seller policies: | |
|---|---|
| Shipping discount: |
Shipping weights of all items added together for savings. | Free shipping on orders over $275.00 |
| Price discount: |
20% off w/ $150.00 spent |
| Posted for sale: |
More than a week ago |
| Item number: |
279678244 |
Item description
Stand up in front of your competition with a 3D look on your designs.
Blue Foam Backing for 3D look
Puff
Measurements 18 X 12 X 3mm
Color Blue
Makes your embroidery stand out buy adding dimension to your embroidery design.
How do I sew a puff foam / 3D embroidery design?
The process of embroidering with puffy fonts, logos and designs is slightly different than regular embroidery, but not much harder. First off, know that there are more costs, and more stitches, in designs using BCK3D.
When sewing it is as simple as:
Sew all your flat embroidery first.
Create a stop in the machine after your last flat piece
Place puff over area you want it sewn and restart the machine
Sew a border around your puff area
Remove excess puff material
Finish design and clean up excess puff foam material.
Some basic tips to getting started right with foam embroidery:
The digitizing is important. You will need to have longer stitches to make up for the space the foam is taking. .
Learn how to program stops in your machine. You should be able to put a stop in after a certain color change.
Lay the foam down and use tape or EZADH EZ Stick Spray Adhesive to hold it in place. Once the first stitches go into the foam, you won’t have to worry about it moving anymore.
Outline the area of the foam first, then sew satin stitches. This outline will help create a ‘cut’ in the foam to easily pull it off.
Now stop the machine and tear off the excess foam
Complete the rest of the embroidery and cover the foam area.
Once you are done with the design you can use nippers or a heat gun to clean up any excess foam. Nippers are good for a piece that didn’t tear well. The heat gun is good for shrinking the foam into place and creating that tight and clean look.
Foam works best on designs that have a good underlay border and satin stitches across the foam. Note that any design cannot be done in foam. For example, a heavy fill stitch over foam or too much underlay might not give the desired look.
Use of a sharp point needle can help tear into the foam and give a clean cut. Be sure to use the backing you normally would on a design. Backing is important to give stability to this type of embroidery.
Added to your wish list!

- Blue BCK3D 3-D Embroidery Foam Backing Puff 18" x 12 Inches x 3mm
- 7 in stock
- Handling time 3 days. Estimated delivery: Fri, May 9th
Get an item reminder
We'll email you a link to your item now and follow up with a single reminder (if you'd like one). That's it! No spam, no hassle.
Already have an account?
Log in and add this item to your wish list.